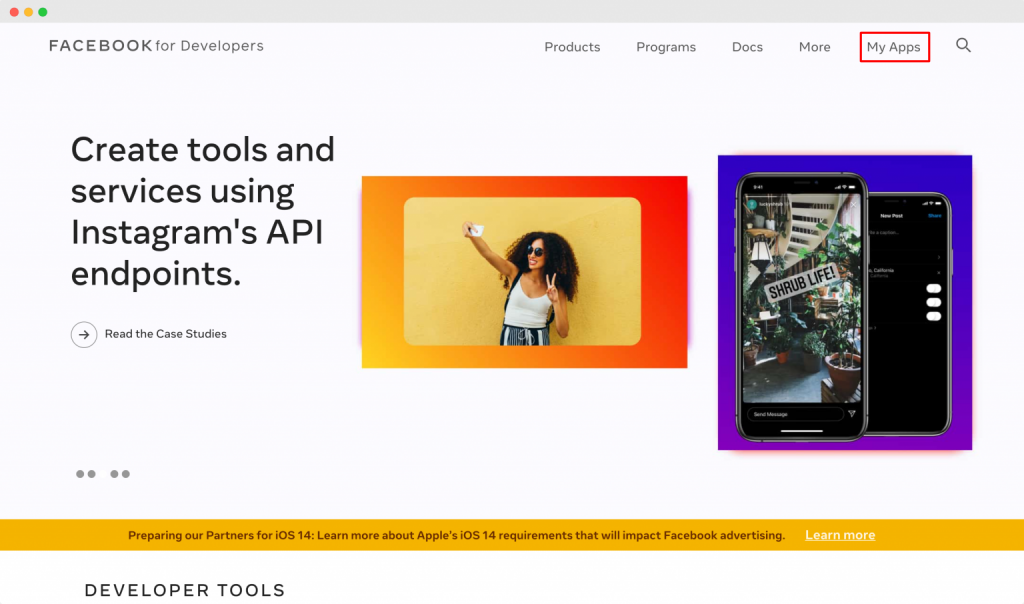
How to Create Instagram Access Token for Instagram Feed Element?
Recently Instagram made changes to its policies making it mandatory in some regions for users to be logged in to https://instagram.com to view images for public profiles.
So, we have added a new way in which you can display photos from your Instagram Feed. This new method requires you to create Instagram Access Token. Instagram Access Token is required to prove that you’re the owner of your account and you allow the use of photos and content on your site.
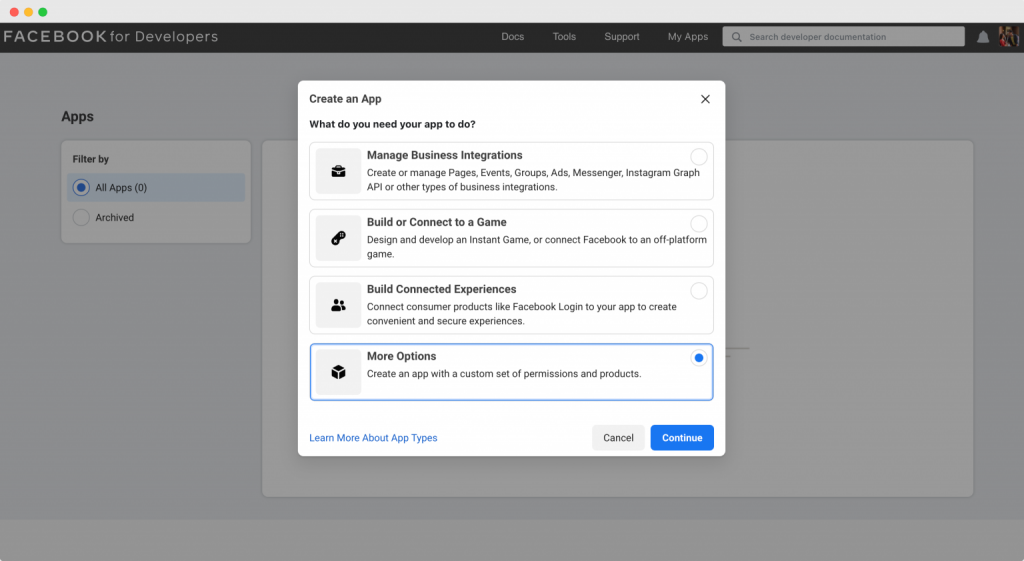
Now, a popup will appear here asking the requirement for the new app that you’re going to create. Simply click on “More Options” in the popup and click “Continue“.
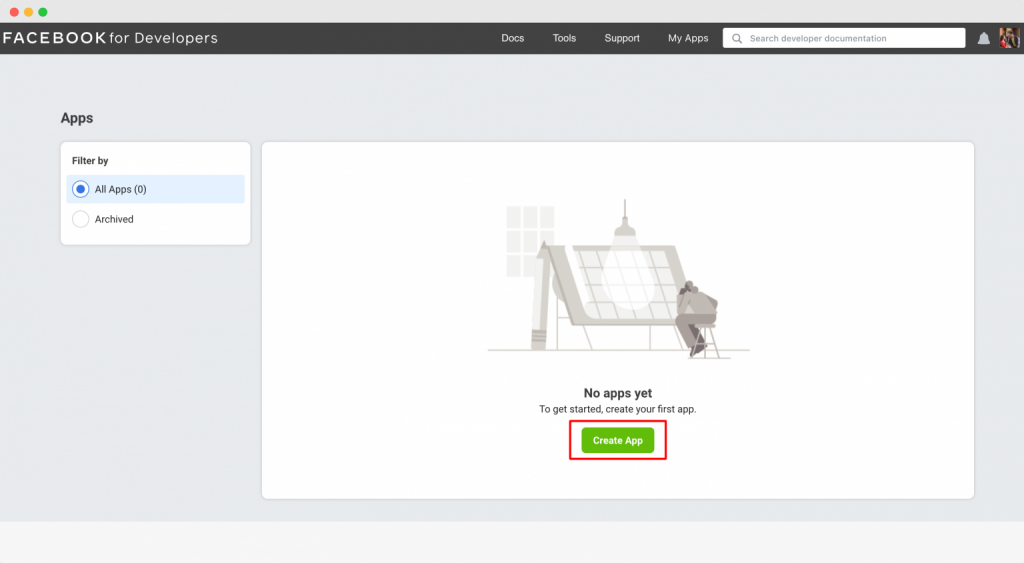
Create a New App in Facebook for Developers
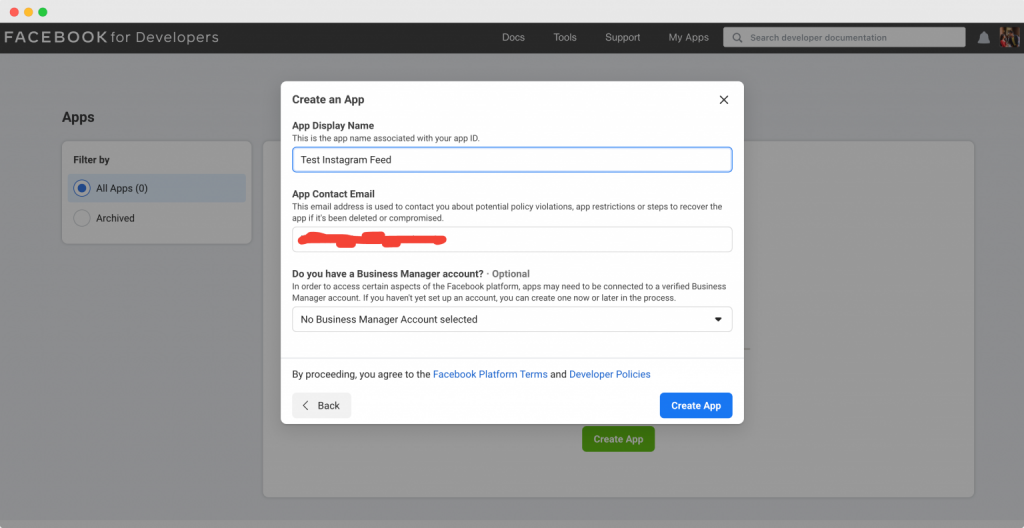
A new form will open up with some fields like App Display Name, App Contact Email, etc. Fill up these fields and click on “Create App”.
Create an App in Facebook for Developers
Next, go through the reCAPTCHA security check and the app will be created.
Step 2: Setup Instagram App
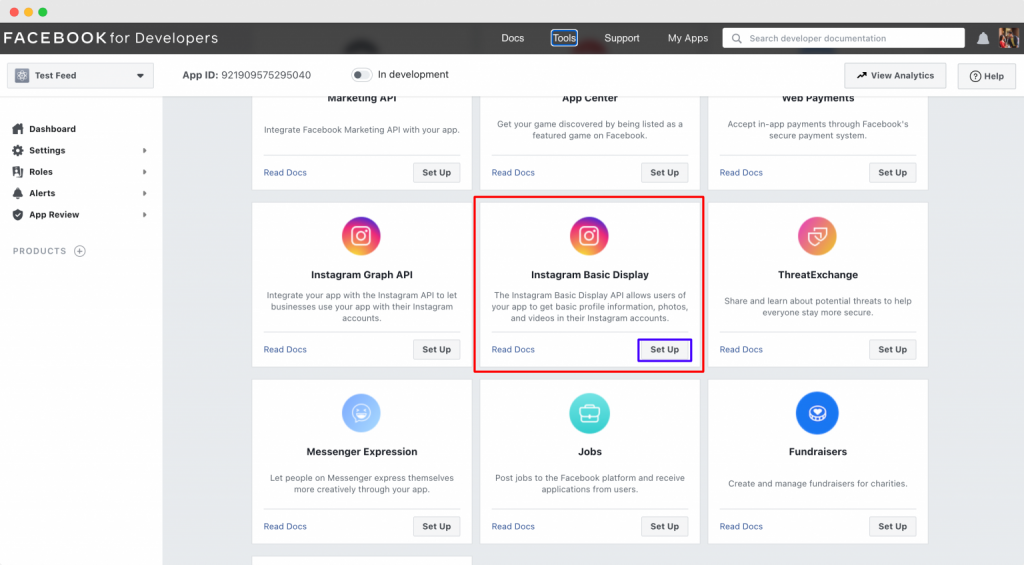
Once you have crossed the reCAPTCHA security check, a list of apps will be shown. Choose “Instagram Basic Display” from the list and click on “Set up”.
Instagram Basic Display
Now, some detailed information about the display, use cases, and permissions of “Instagram Basic Display” will show up. Read it up and click on “Create New App”.
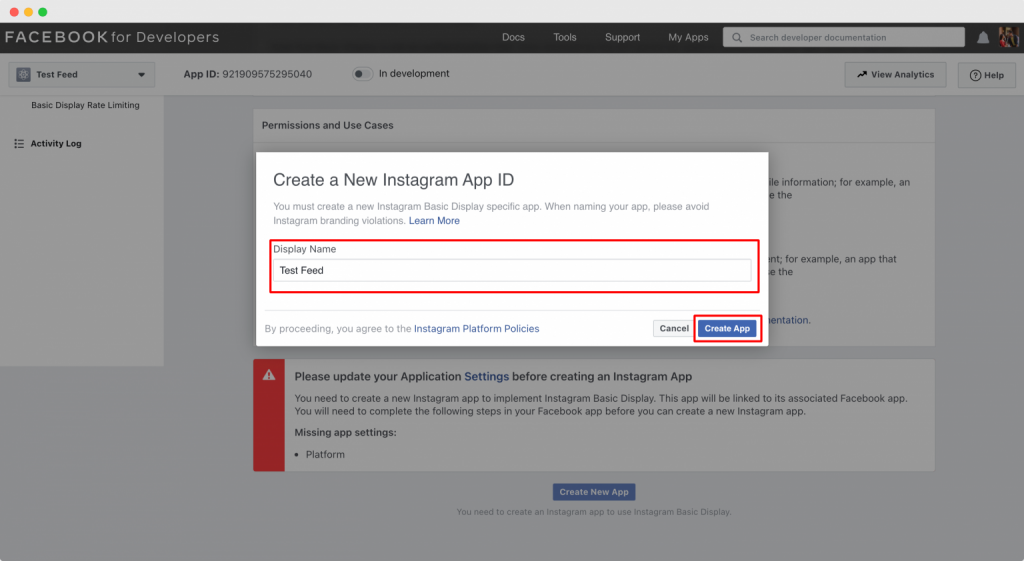
Next, a popup will appear asking you to “Create a New Instagram App ID”. Type in the Display Name of the Instagram App ID and click on “Create App”. Here, in our example, we have added Display Name as “Test Feed”.
Display Name for Instagram App ID
Step 3: Instagram Basic Display Configuration
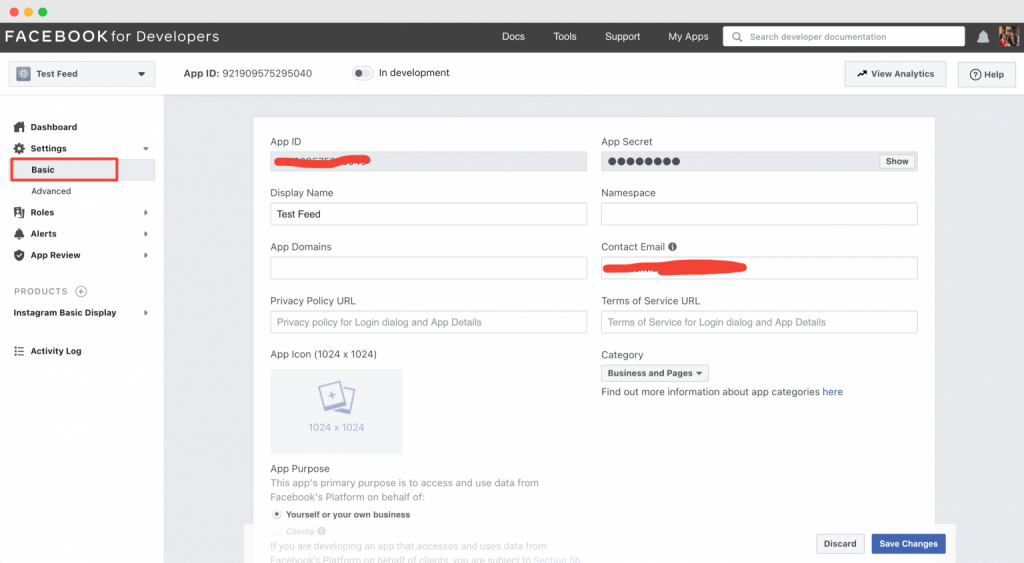
Configure the newly created app by heading over to Settings >> Basic on left-hand side menu of the screen.
Instagram Basic Display Configuration
Here, in the Basic settings, you’ll see App ID and App secret created by default by Facebook. You’ll need to fill out the remaining fields of your app’s name, domain, email, and others. Select “Business and Pages” in the Category list and choose the “Yourself or your own business” option in the App Purpose block.
Finally, click on the “Save Changes” button.
Step 4: Add Instagram Test User
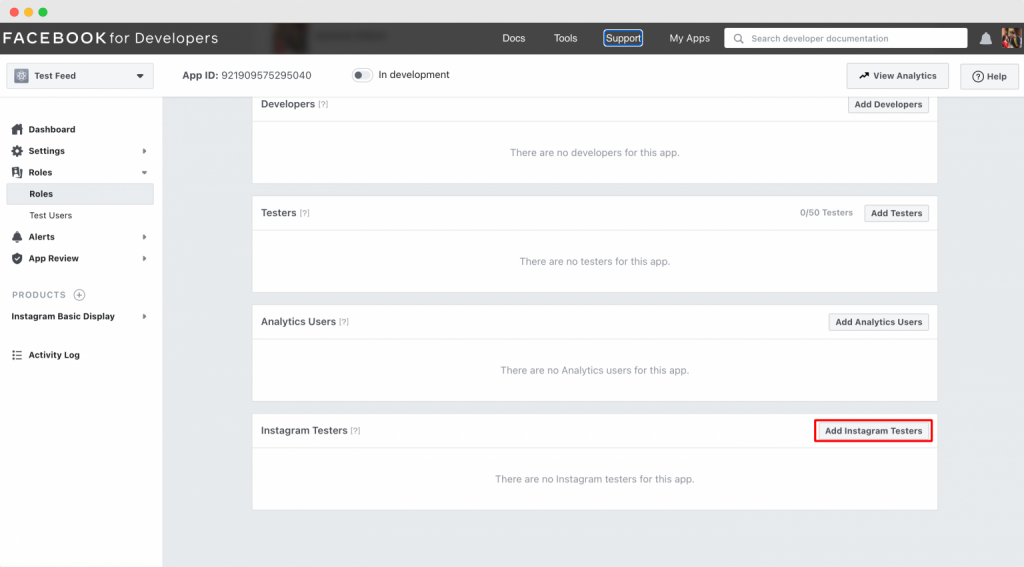
Head over to Dashboard >> Roles and click on “Add Testers” in the Tester Section.
Add Instagram Tester
Now, a popup will open up asking for the username of the Instagram Handle that you want to add as a tester. Enter your username here. For our example, we have used our own Instagram username “helloideabox” here.
Once you add the Instagram username and click on “Submit”, an invitation will be sent to the Instagram Account.
Invitation Sent to Instagram User
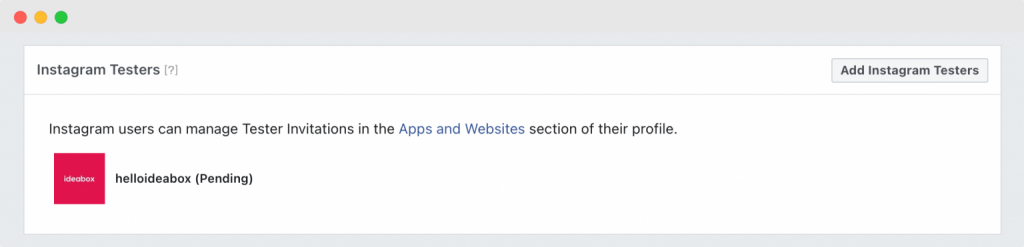
Next, you will have to confirm this invitation by heading over to Instagram.com and signing in to your account. After signing in, head over to Settings >> Apps & Websites >> Tester Invites. Accept the invitation.
Instagram Tester Added
Note: You’ll only be able to confirm the invitation by accessing instagram.com from the desktop. You won’t be able to confirm the invitation from the mobile app.
Step 5: Generate Instagram Access Token using App ID and App Secret
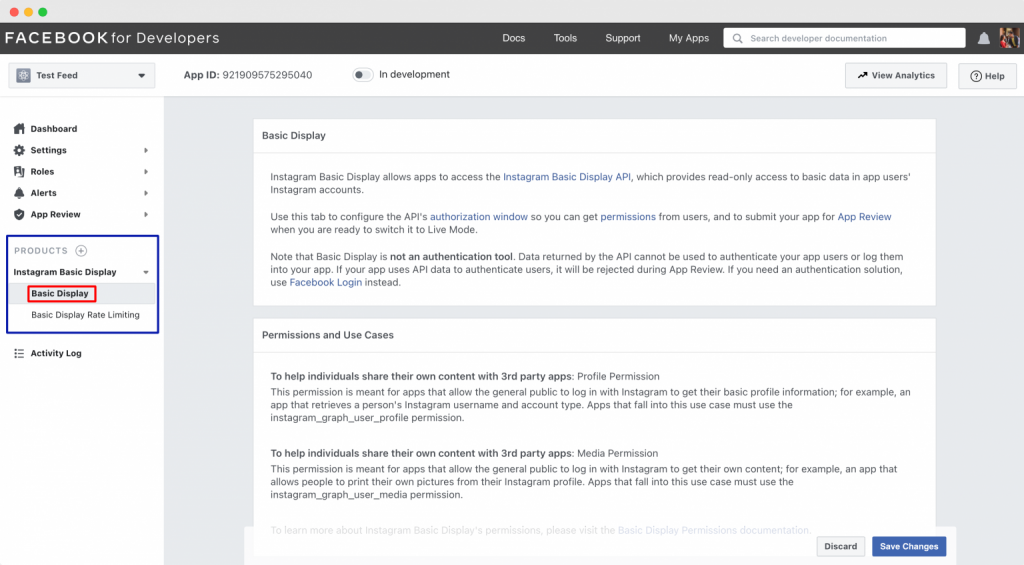
Once you have accepted the invitation, head over to Products in Dashboard. Here, click on Instagram Basic Display and a dropdown list will open. Select “Basic Display” from the list.
Basic Display in Dashboard >> Products >> Instagram Basic Display
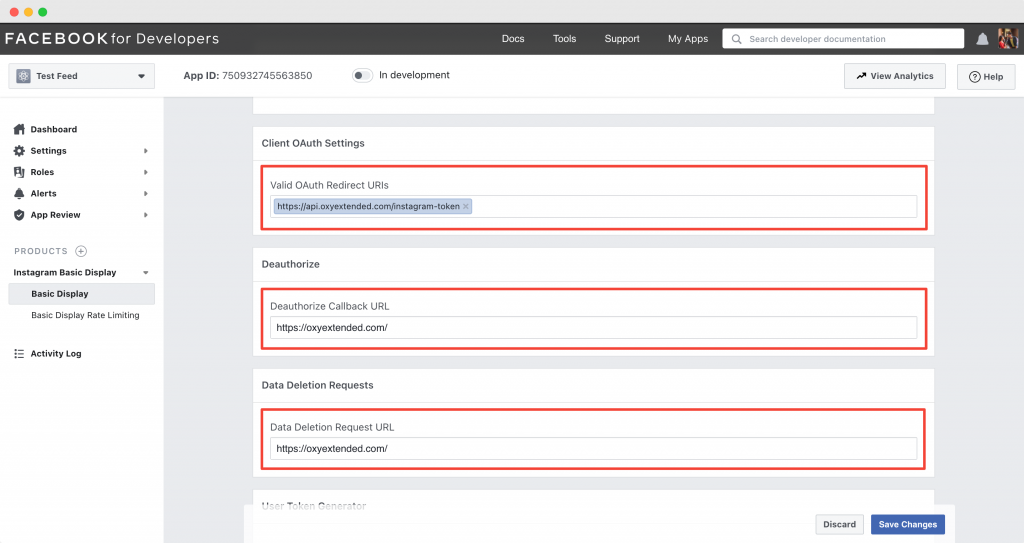
Here, scroll down, and you’ll be asked to insert Valid OAuth Redirect URIs, Deauthorize Callback URL, and Data Deletion Request URL.
Deauthorize Callback URL: In this field, insert the URL which users will be pinged if someone tries to uninstall apps via Facebook.com without interacting with the app itself. We have inserted our website URL here as “https://oxyextended.com/“.
Data Deletion Request URL: In this field too, insert the website URL as “https://oxyextended.com/“.
Client OAuth Settings, Deauthorize and Data Deletion Requests
Next, scroll down further and click on “Generate Token” in the User Token Generator section. Please note that you should be logged in at https://www.instagram.com/ to generate a token.
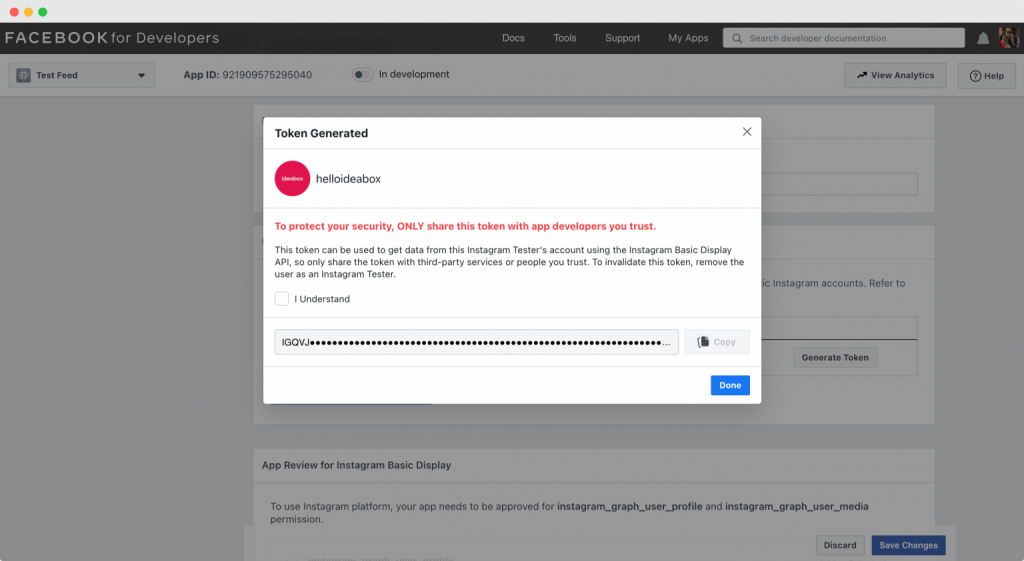
Once you click on “Generate Token”, the Token will be generated as shown in the screenshot below.
Instagram Token Generated
As you can see in the above screenshot, the Instagram Access Token has been generated. Simply click on “I understand” and Copy the Access Token.
Add Instagram Access Token in Instagram Feed Element
Add Instagram Feed element to any page.
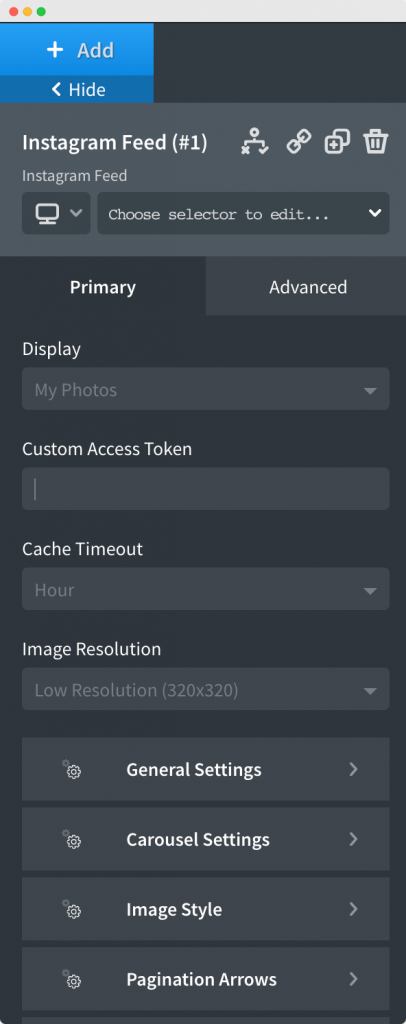
In the Instagram Feed element, add the Token that you generated in the “Access Token” column.
Enter the Access Token
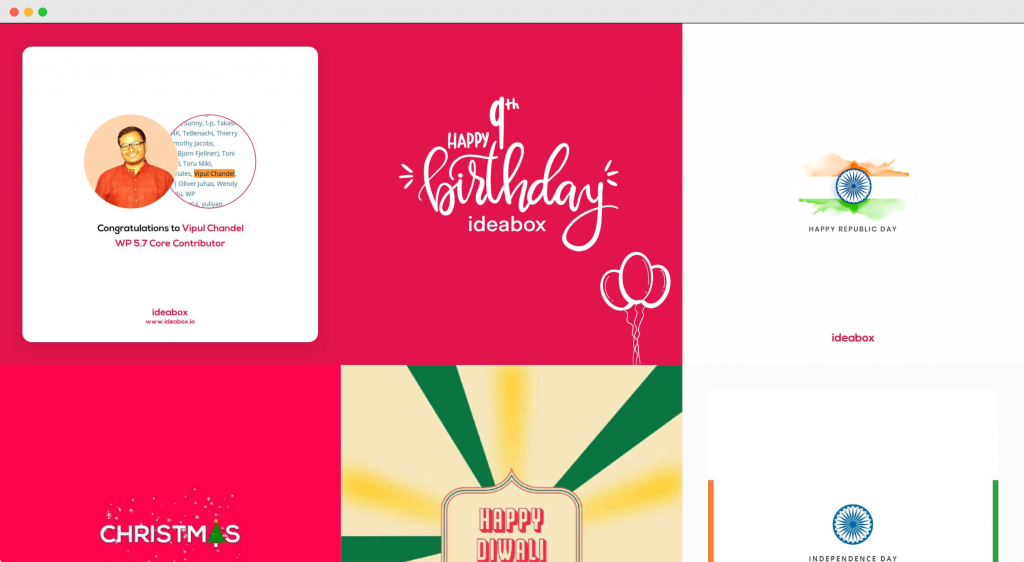
Once you have added the token, apply parameters and Save the page. The Instagram Feed element will work perfectly fine now.
Instagram Feed Element
Feel free to get in touch with us in case you face any difficulties in setting up the Instagram Feed Element! 🙂
The Complete Toolkit to Improve Workflow with Oxygen
We use cookies to ensure that we give you the best experience on our website. If you continue to use this site we will assume that you are happy with it.Ok